After Sales

YOUR FLEXIBLE PARTNER
FOR LONG-TERM SOLUTIONS

Inspection

We carry out a detailed inspection on the machine to identify any defects and damage. This inspection does not involve repair. It simply reveals the need for any potential servicing.

We then create a catalogue of measures (including quote) to help ensure continued productivity, quality and machine availability.

Maintenance

We inspect and, if necessary, readjust the machine’s geometry. Small parts such as scrapers, filters or seals are replaced here to prevent more expensive assemblies from malfunctioning.

Qualified experts perform an in-depth inspection of the machine to identify any potential damage or defects.

We then create a catalogue of measures (including quote) to help ensure continued productivity, quality and machine availability.

Qualification / Availability

Our experts regularly receive training. This, combined with our extensive range of genuine spare parts at our warehouse, ensures that your machines stay up and working.
CONTRACT PRODUCTION

A PARTNERSHIP
WITH PERKS.

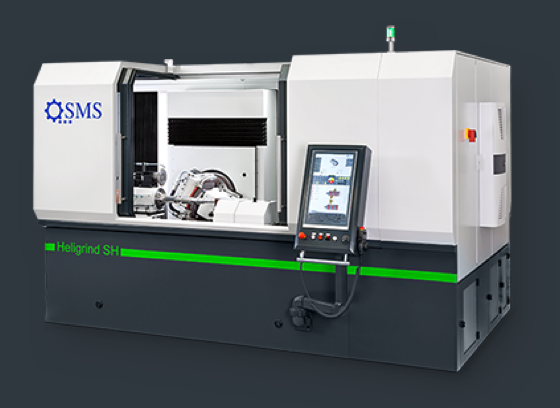
We have many years of experience in the area of grinding technology as the manufacturer of precision machines. But don’t just take our word for it, see for yourself. With our state-of-the-art CNC grinding machines, we produce the components you need with extreme precision and in impeccable quality.

We’re happy to provide contract production for threads, gear-cutting tools and drive components such as drive worms and spur gearing. You can also make use of our testing and demonstration machines for your orders upon request, whether it's for bridging any shortages in capacity or testing our machines under production conditions.

We also have a wide range of machinery for applications such as: eroding, flat/internal cylindrical/external cylindrical grinding and turning/milling for individual parts and small batches.

Whether it's series production or the manufacture of individual components – we’re happy to cater to your individual needs and implement these exactly.

THERE ARE VARIOUS REASONS TO CONTACT US AS A CONTRACT MANUFACTURER:

  • Support in the coordination of all start-up activities in the process of creating your products
  • Reduction in investment cost through machine hire/leasing
  • Non-profitability for a special range of parts

MEASURING SERVICES

IT’S ALL ABOUT PRECISION!

Our range includes the following measuring devices

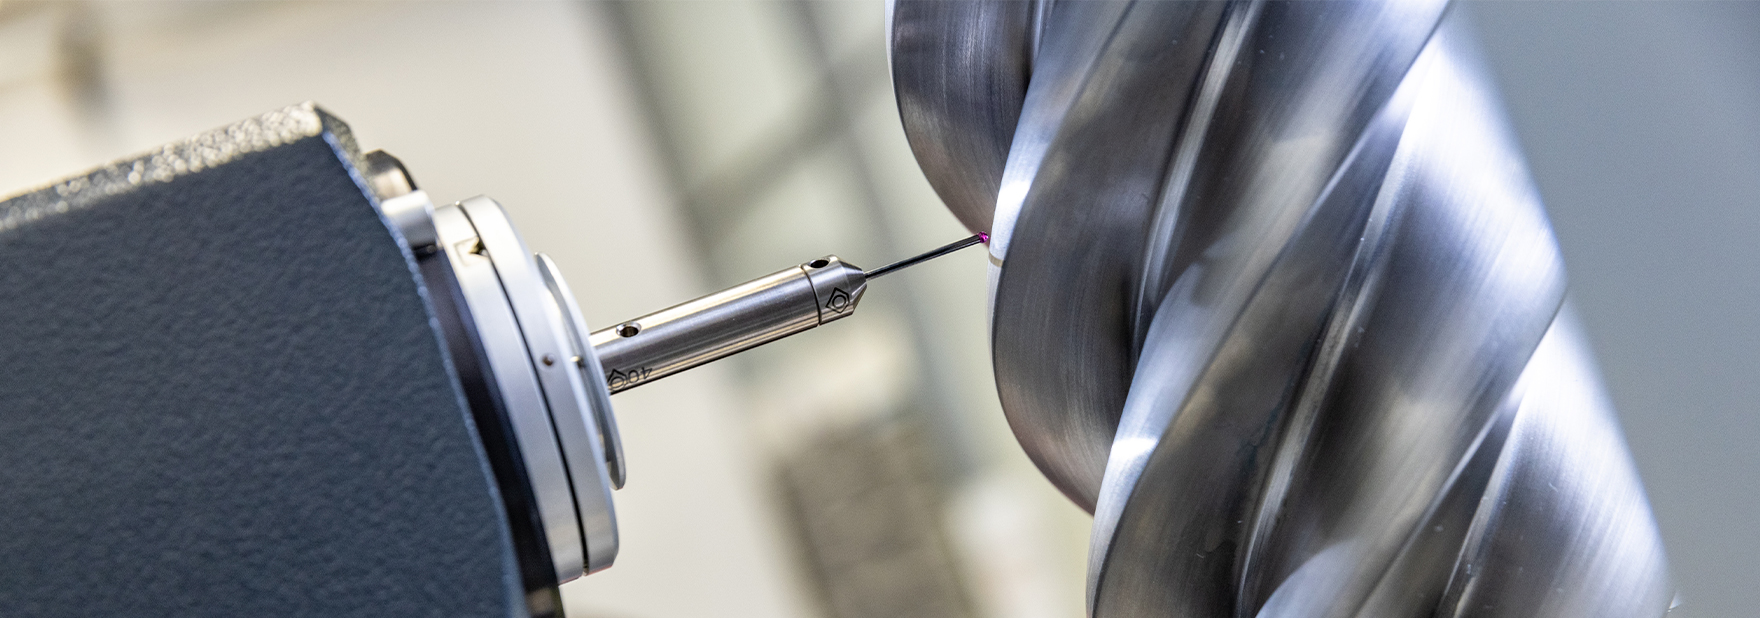
  • Klingelnberg P40
  • Optacom
  • SM50
  • Laser measurement
  • Kreistest (Heidenhain Kreuzgitter)

Klingelnberg P40

  • Milling cutter measurement
  • Rotor measurement
  • Cutter measurement
  • Spur gear measurement
  • Worm measurement

AREA OF APPLICATION

Modul m (based on a spur gear): 0,5 – 15 mm
Continuous measurable vertical measurement range (Z axis)Hz: 550 mm
Horizontal measurement range (X axis rolling distance): ± 115 mm
Helix angle or lead angle: 0 – 90 °
Clamping diameter and testable spur gear diameter: ≤ 400 mm
Permissible workpiece weight: ≤ 300 kg

Optacom

  • Measurement in surface profiling process (tactile probe)

AREA OF APPLICATION

Resolution in X and Z axis: 0,002 μm
Resolution on probe tip: 0,003 μm
Vertical measurement (Z axis): 225 mm
Horizontal measurement (X axis): 225 mm
Precision:   +/- (0,5 + L/100)μm
Measurable lead: 78° upwards, 87° downwards

SM50

  • Flank relief measurement
  • Outer diameter relief measurement
  • Bevel relief measurement

    on thread-cutting tap and thread-forming tap and thread milling cutters

Laser measurement

  • Position precision machine tools with compensation (Status Pro)

Circular test (Heidenhain cross grid)

The KGM cross grid measurement device is suitable for actively testing the path characteristics of CNC-controlled machine tools, allowing for circular tests with radii from 0.1 mm to 115 mm at feed rates of up to 80 m/min.

We can also perform laser measurements and circular testing on site at your premises.
We are also happy to provide a wide range of related services on request.

Klingelnberg P40

Klingelnberg P40

  • Milling cutter measurement
  • Rotor measurement
  • Cutter measurement
  • Spur gear measurement
  • Worm measurement

AREA OF APPLICATION

Modul m (based on a spur gear): 0,5 – 15 mm
Continuous measurable vertical measurement range (Z axis)Hz: 550 mm
Horizontal measurement range (X axis rolling distance): ± 115 mm
Helix angle or lead angle: 0 – 90 °
Clamping diameter and testable spur gear diameter: ≤ 400 mm
Permissible workpiece weight: ≤ 300 kg

Optacom

Optacom

  • Measurement in surface profiling process (tactile probe)

AREA OF APPLICATION

Resolution in X and Z axis: 0,002 μm
Resolution on probe tip: 0,003 μm
Vertical measurement (Z axis): 225 mm
Horizontal measurement (X axis): 225 mm
Precision:   +/- (0,5 + L/100)μm
Measurable lead: 78° upwards, 87° downwards

SM50

SM50

  • Flank relief measurement
  • Outer diameter relief measurement
  • Bevel relief measurement

    on thread-cutting tap and thread-forming tap and thread milling cutters
Laser measurement

Laser measurement

  • Position precision machine tools with compensation (Status Pro)
Kreistest (Heidenhain Kreuzgitter)

Circular test (Heidenhain cross grid)

The KGM cross grid measurement device is suitable for actively testing the path characteristics of CNC-controlled machine tools, allowing for circular tests with radii from 0.1 mm to 115 mm at feed rates of up to 80 m/min.

We can also perform laser measurements and circular testing on site at your premises.
We are also happy to provide a wide range of related services on request.

CONTROL SYSTEM CONVERSION

GIVE YOUR OLD SYSTEMS
A NEW LEASE OF LIFE!

CONTROL SYSTEM CONVERSION FOR YOUR GRINDING MACHINES (RETROFIT):

Retrofit your grinding machines in line with the latest state of the art: Our control system modernisations for grinding machines are far more cost-effective than a new investment, especially for machines with mechanical components in good condition but a control system that is a little outdated. A control system conversion can significantly minimise unplanned downtime, reduce high maintenance costs and improve poor energy efficiency. Retrofitting your machines with the latest technology also helps you to improve production quality.

Benefits:

  • Operational safety – by using the state-of-the-art control platform and replacing outdated components to modernise your control system, you can ensure your process continues to run with the highest level of reliability..
  • Guaranteed lifecycle service –once your control system is modernised, you have access to all our services, including spare parts, technical support and training, for your machine.
  • Improved maintainability – retrofitting your control system allows you make use of remote support options through the use of modern technology, improving fault logging for troubleshooting.
  • Longer service life – control system retrofits provide custom solutions tailored to the customer’s needs that have the minimum impact on your machine’s system environment.

GRINDING MACHINE CONTROL SYSTEMS (NEW MACHINES):

We develop programs for high-tech grinding machines. Our machines can be intelligently integrated into production processes with interfaces to both overarching IT systems and measuring machines. Developed by SMS, the HMI makes it easy to operate our grinding machines and allows users to configure the relevant programs in no time. Our mission is to automate our grinding machines in a way that constantly ensures the safety of the user, the machine and the environment. We offer productive solutions for integrating IT into our control systems on the path towards Industry 4.0. Commissioning and programming robots or other automation systems are common practice for SMS.

TESTING

TRY SOMETHING OUT AND CHALLENGE US.

We are always able to provide expert support for your planning thanks to our extensive knowledge of grinding technology.

You have access to our testing and demonstration machines to carry out testing, as well as modern, high-performance test and measurement devices for determining the results of testing. Our powerful SM50 is perfect for testing threading tools while the Klingelnberg P40 is available for gear-cutting tools.